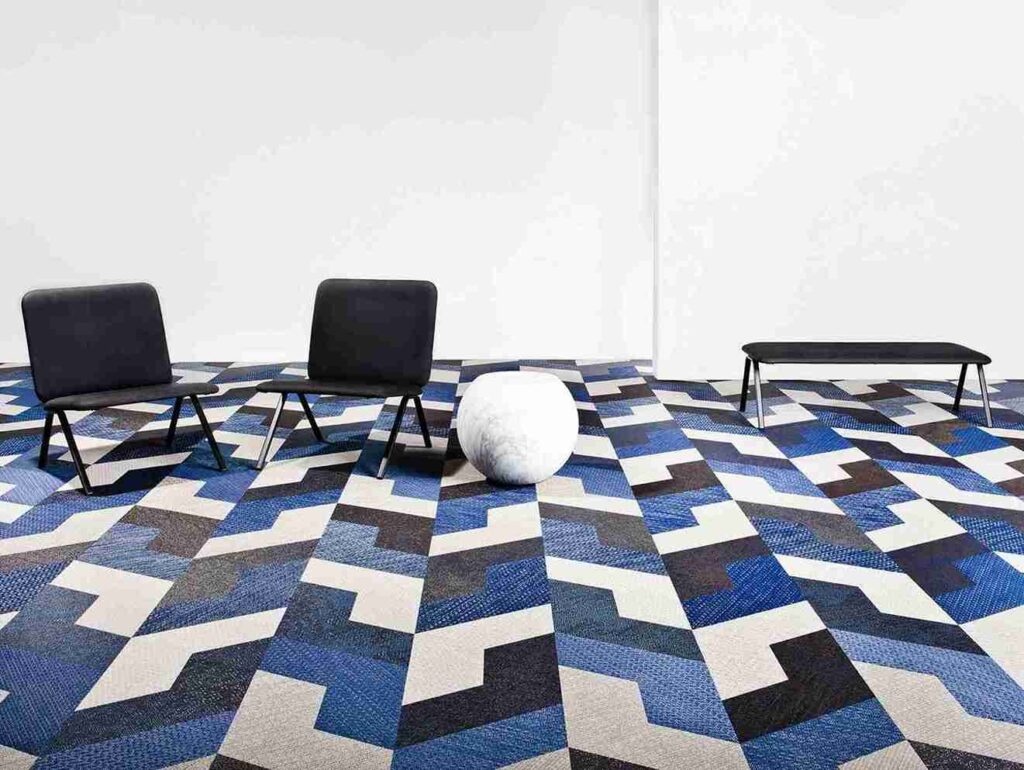
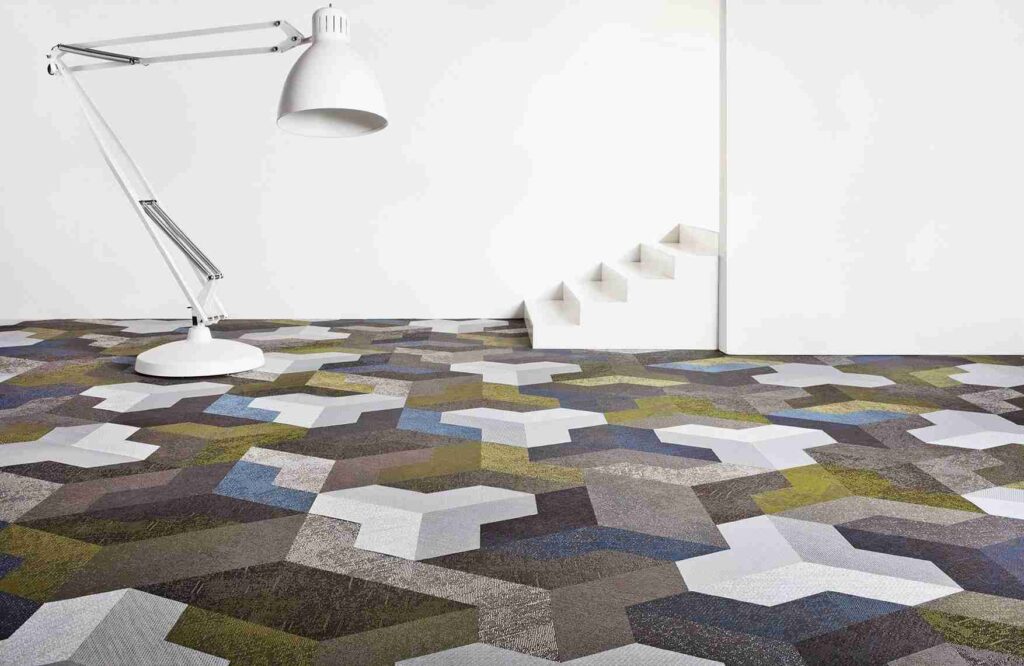
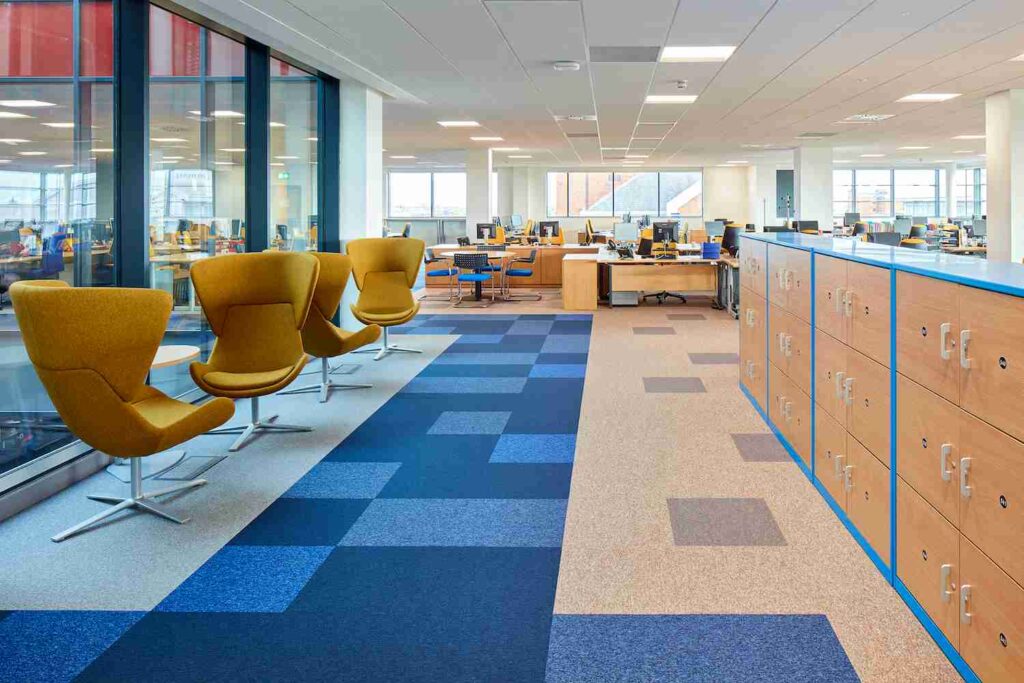
Without any doubt, laying carpet tiles without glue is the most convenient and practical way of renovating either an office room, a living room, or even a tenant’s space. Office Carpet tiles have their advantages: easy to handle and flexible, and come in various colors and patterns. Moreover, a no-glue installation can facilitate this even more since there will be no messy adhesives involved and complicated procedures.
In this article, we’re taking you through the installation of glueless carpet tiles in an easy, informal step-by-step style. When you are done, you should be armed to attack this DIY project with accuracy!
Why Choose Glueless Carpet Tiles?
Before going into the how-to, let’s briefly discuss why this method is worthwhile to consider. Carpet tiles are an excellent alternative to broadloom carpets; laying those tiles with no glue applied has a few added advantages.
Firstly, these are easier to remove and replace. If one tile gets hurt or speckled, it can easily be replaced without dealing with the stubborn adhesive. Second, you avoid the mess of applying that equal glue and cleaning spills; hence, it is quite hassle-free.
That works out great for renters because this is a temporary flooring that won’t damage the existing floor when you leave. It is, after all, a healthier choice because you won’t have to deal with the fumes and chemicals that sometimes come with carpet glue.
What You’ll Need?
Get a collection of materials you will need to ease the process before you begin. Here is your shopping list: carpet tiles-measure accordingly to know the number of tiles needed in your space, carpet tape to hold edges and corners, measuring tape, utility knife or carpet cutter, straight edge or ruler, chalk, or even a pencil where marks will be affected, and a vacuum or broom to clear the floor before laying down the carpet.
Prepare Your Space
First comes the floor preparation, where you will lay the carpet tiles. This is the most important part because carpet tiles need a smooth surface to lie on. Take time to vacuum or sweep the area thoroughly to clear any dust, dirt, or other debris that may be making it uneven.
This shall enable the tiles to lie flat and not experience the bumps that are underneath. Secondly, check the surface. Carpet tiles should be laid on a flat, hard surface and are thus best suited to hardwood or concrete floors. Make sure to iron any bumps or irregularities in the floor before laying the tiles.
Second, take your tape measure and measure the length and width of the room. It will help you learn how many tiles you need and how to distribute them equally.

Plan the Layout
It is always a lot easier if you have a preliminary layout before you begin to stick down any tiles whatsoever. To accomplish this, you do what is called a “dry fit” of your tiles. You lay them out without actually attaching them. First, locate the center of your room. To do this, you will want to measure the length and width of the room and mark with a chalk line the midpoints on each wall.
Where these lines intersect is the middle of the room. Start installing the tile from that center point, working your way out toward the walls.
This will ensure the tiles are equally distributed, and there should not be an opportunity to end up with teeny slivers of tile on one side of the room. The carpet tiles can be rotated or the pattern you set for the design of your carpet tiles.
Many tiles include arrows on the back to indicate which direction the pile runs. You can line them up for a uniform look or run them in different directions to give them a more dynamic feel. Start Installing
Start Installing
Now that you have the general layout planned, it is time to start putting them in. Begin at your center point and lay down the first tile. Push this tile firmly into place and check to make sure that it is flat to the floor. Lay tiles outwards from the center from there and press each tile down as you go outwards. If your tiles have a particular pattern, watch for the arrows or any other design elements to place them properly for aesthetic appeal.
When you get to the edges of the room, for the most part, you’ll have to cut some tiles to fit. Take your utility knife and straight edge, measuring then cutting the tiles. Always measure twice and cut once to avoid wasted tiles! Save any scraps which may be leftover from cuts for future repairs or projects.
Fix the Tiles
Even if you’re using glue-free carpet tiles, it is a good idea to secure the edges to prevent shifting or curling over time. That is where carpet tape is put to use. Once you lay all your tiles, go round the perimeter of your room, applying the carpet tape along the edges of the tiles. This will help hold them in place and ensure they don’t fall out of place.
Finishing Touches
When all is said and done, step back, and behold your handiwork! You can even go ahead and vacuum the carpet pretty well in order to get rid of some loose fibers from the installation process. This will have it looking its best and get rid of any dust or debris that settled as you worked.
Not to be forgotten is furniture placement. Before you move everything back in, take a moment to think about how your furniture will sit on your new carpet tiles. You may want to invest in some furniture coasters that will help distribute the weight and prevent indentations in the tiles over time.

Conclusion
And that’s it-carpet tiles installed without adhesives is a pretty simple, rewarding DIY project that can give you a completely new look in a room. Bold colors, funky patterns, or classic neutral-all your space will now have a fresh, updated look. Not to mention you’ll be justified, knowing you created a comfortable, stylish environment sans adhesives.
Now sit back, enjoy your new flooring, and bask in your handiwork!


